Codex Configuration
Author: goswitch
Updated: 2026-06-13T10:02:01.000Z
Windows
- Press "Win+R" on your keyboard, enter the following and press Enter to open your Codex configuration directory
%userprofile%\.codex
- Your directory may contain the following files, but we only use three of them, and only two need configuration
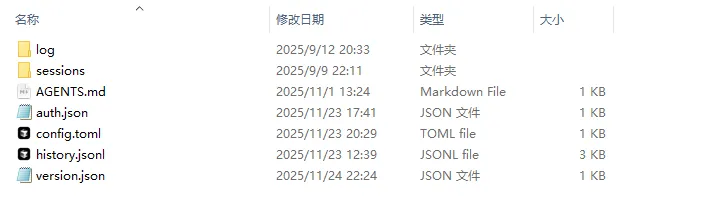
config.toml: Codex's core configuration file, where relay service and MCP settings are configured
auth.json: Used to configure the ApiKey obtained from the relay service
AGENTS.md: Used to set Codex's global work prompts
Important
Many people may not have these three files after a fresh installation. You need to manually create these three files and write content to them
- Configure Config.toml
Copy the following configuration text to your config.toml file and save
disable_response_storage = true
model = "gpt-5.2"
model_provider = "goswitch"
model_reasoning_effort = "xhigh"
model_verbosity = "high"

[features]
web_search_request = true

[model_providers.goswitch]
base_url = "https://goswitch.online/v1"
name = "goswitch"
requires_openai_auth = true
wire_api = "responses"- Configure ApiKey
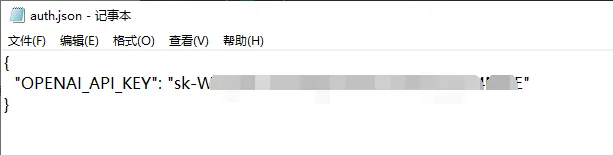
Copy the following configuration text to your auth.json file
{
  "OPENAI_API_KEY": "xxx"
}
Review Create API Token, we need to create a Codex group token in GoSwitch, then click the copy button on the right and fill the key into the "xxx" part and save
- Test Dialogue
Enter the following command in the Windows terminal. When the content shown appears, test the conversation. If you receive a reply, configuration is successful. Start your Codex journey~
codex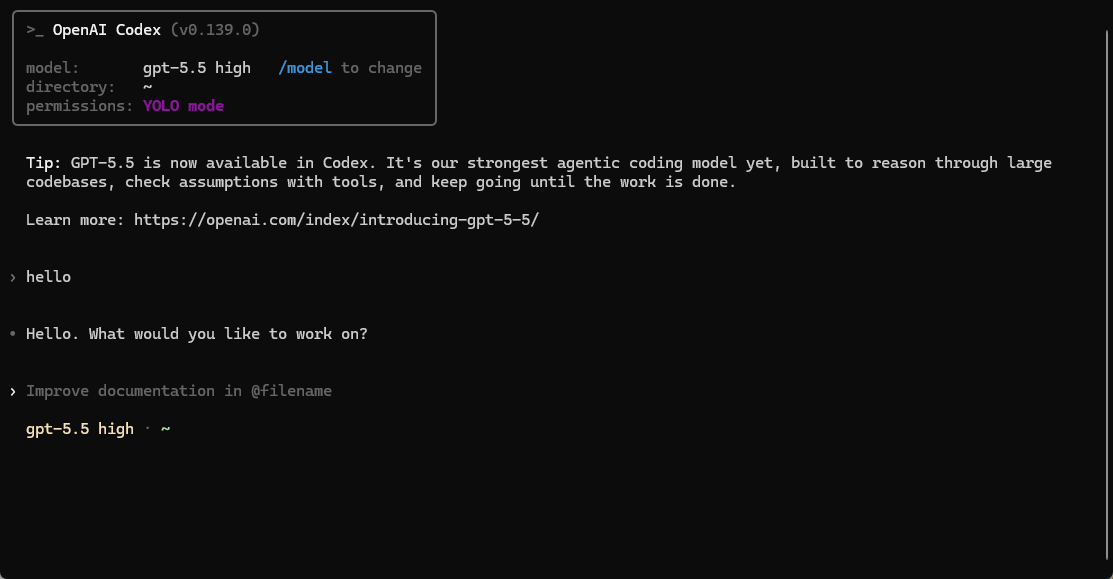
MacOS
- Press "Command+Shift+G" in Finder, enter the following path and press Enter to open the Codex configuration directory
~/.codex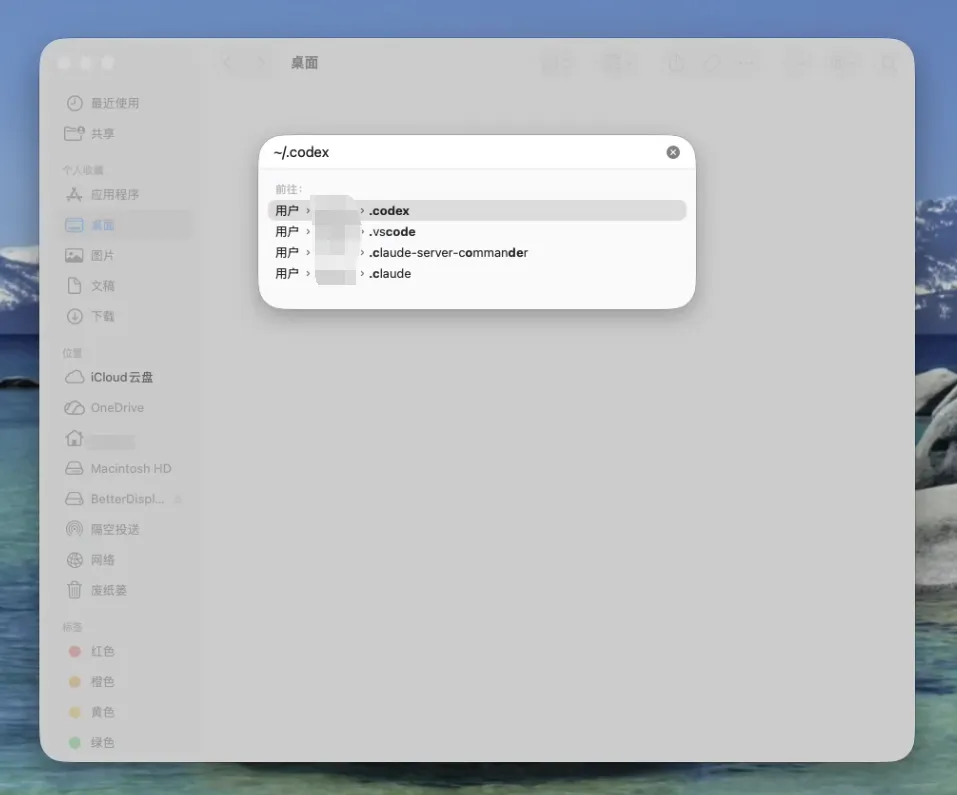
- Your directory may contain the following files, but we only use three of them, and only two need configuration. Other files can be ignored
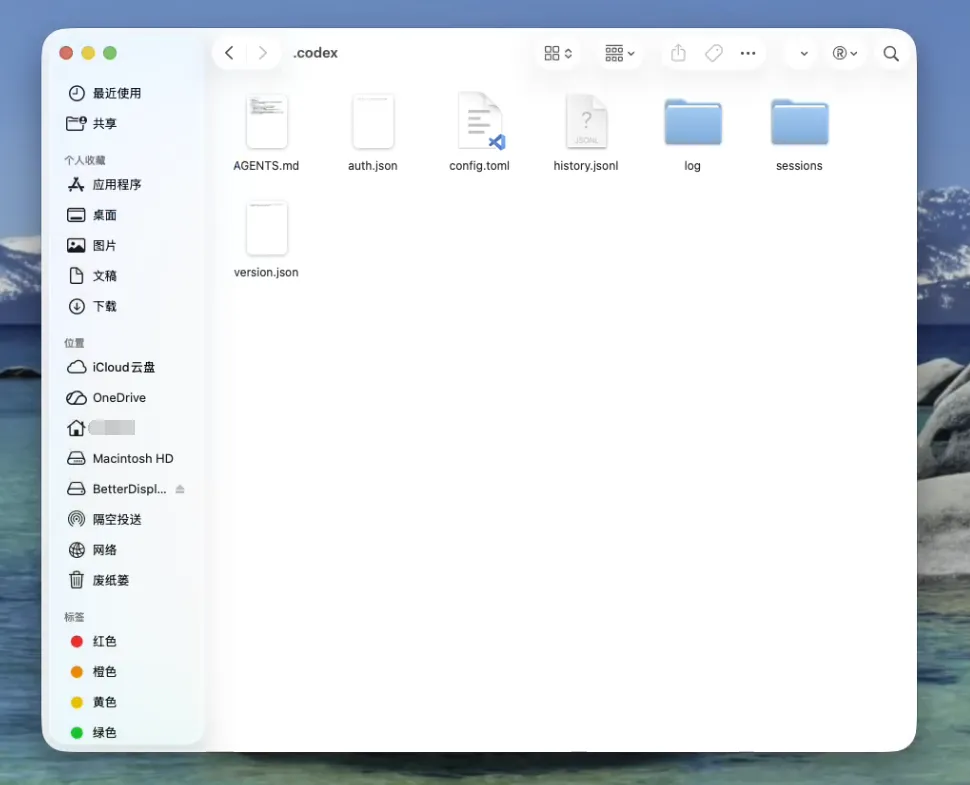
config.toml: Codex's core configuration file, where relay service and MCP settings are configured
auth.json: Stores the ApiKey obtained from the relay service
AGENTS.md: Codex's global work prompts
Important
If not auto-generated after initial installation, you need to manually create the above three files and write content
- Configure Config.toml
Save the following content to config.toml
model_provider = "goswitch"
model = "gpt-5.1-codex"
model_reasoning_effort = "high"
network_access = "enabled"
disable_response_storage = true
windows_wsl_setup_acknowledged = true
model_verbosity = "high"

[model_providers.goswitch]
name = "goswitch"
base_url = "https://goswitch.online/v1"
wire_api = "responses"
requires_openai_auth = true- Configure ApiKey
Copy the following configuration text to your auth.json file
{
  "OPENAI_API_KEY": "xxx"
}
Review Create API Token, we need to create a Codex group token in GoSwitch, then click the copy button on the right and fill the key into the "xxx" part and save
- Test Dialogue
Run the following command in the MacOS terminal. When the dialogue interface appears and you receive a reply, configuration is successful
codex