CLI Configuration Tutorial
Author: goswitch
Updated: 2026-06-13T10:02:01.000Z
Environment Check (Common Steps)
(1) Confirm Node.js is Installed
- Enter the following command in a Windows or macOS terminal
npm list -g --depth-0Normally it should look like the image below (no content is also fine). If you see "command not found", it means you haven't installed Node.js. You need to follow this tutorial to install the environment required for Claude Code, Codex, and Gemini

- If you discover Node.js isn't installed and have now completed the installation, please re-run the command above. If it no longer says "command not found", the installation was successful
(2) Install CLI
- Enter the following commands in a Windows or macOS terminal to install all the CLI tools we need at once
npm i -g @anthropic-ai/claude-code@latest
npm i -g @openai/codex@latest
npm i -g @google/gemini-cli@latest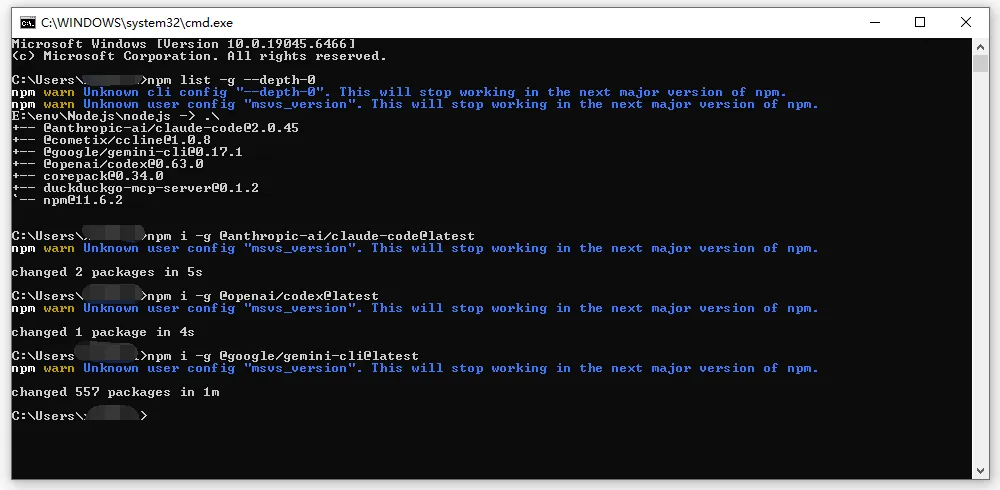
(3) Test Installation
Important
This step is very important. You must run the commands to test, because running these commands will generate the configuration directories for each CLI in your user directory, which is necessary for subsequent operations!
Claude Code
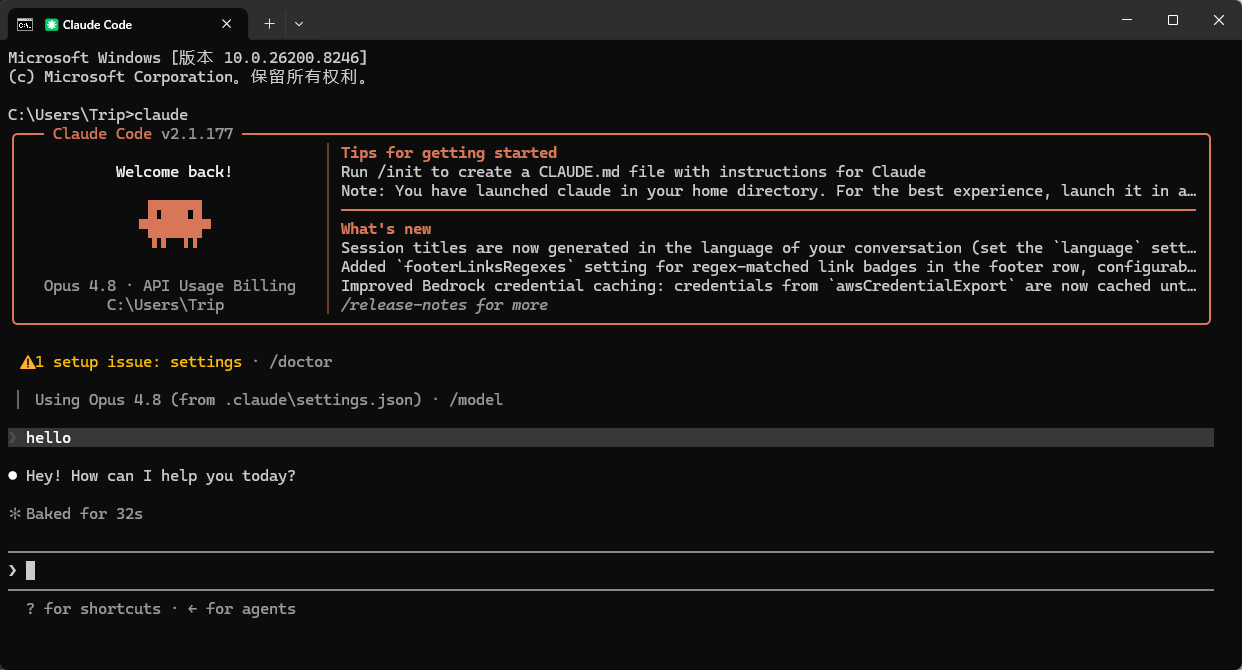
Enter the following command in a Windows or macOS terminal. If you see the content shown in the image, or a selection prompt appears, Claude Code is installed successfully
claude
The second step is very important. You must follow the link and run the command to configure
- Click Claude Code cannot connect to Anthropic service to navigate, and follow the tutorial to run the command before continuing with the individual CLI configuration tutorials
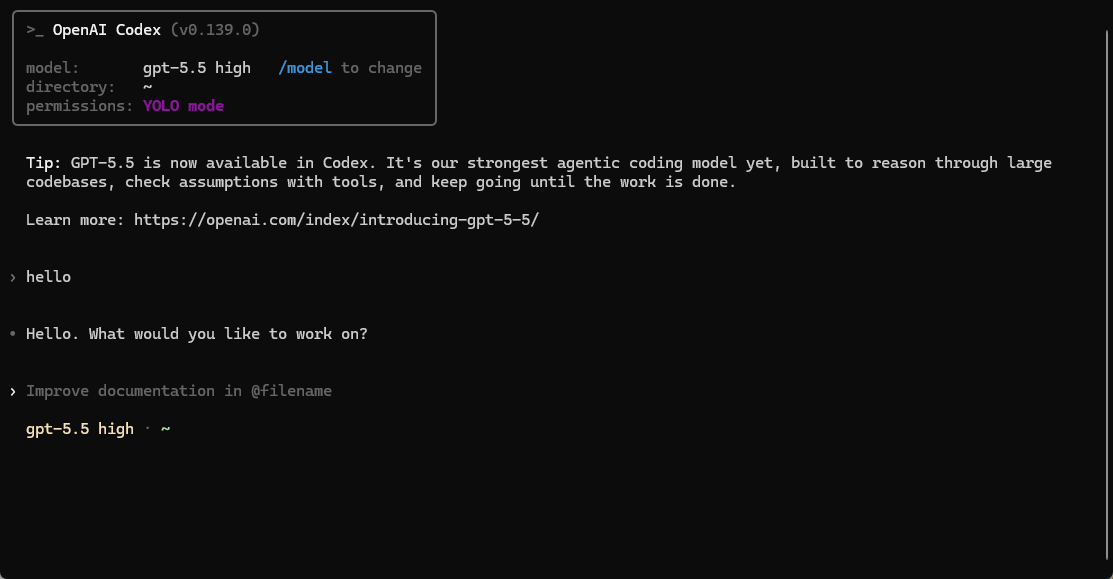
Codex
Enter the following command in a Windows or macOS terminal. If you see the content shown in the image, or a selection prompt appears, Codex is installed successfully
codex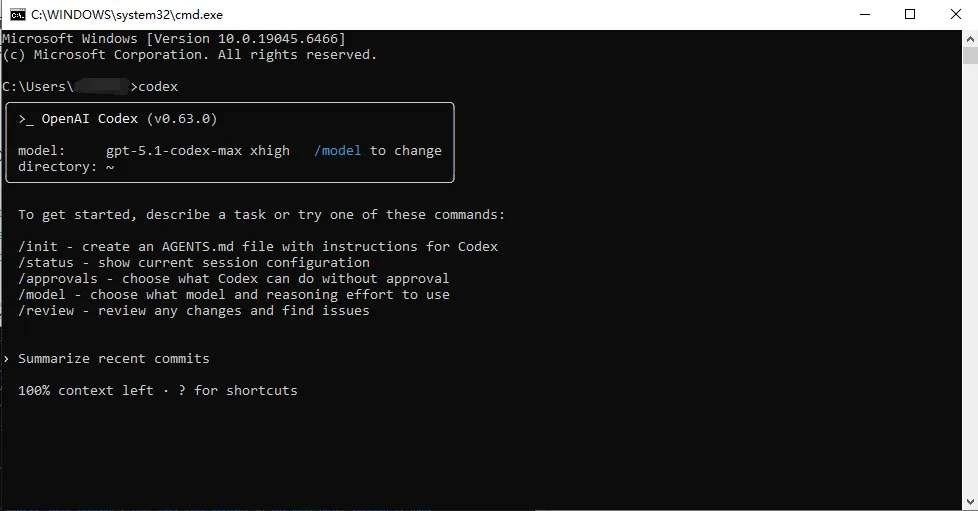
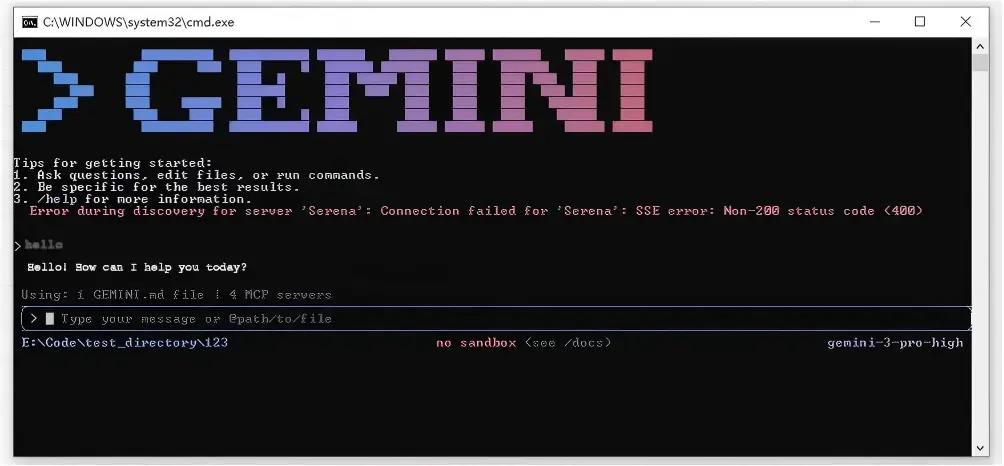
Gemini
Enter the following command in a Windows or macOS terminal. If you see the content shown in the image, or a selection prompt appears, Gemini is installed successfully
gemini
Claude Code Configuration
Windows
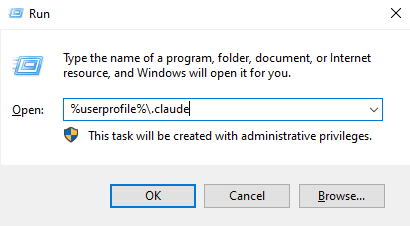
- Press "Win+R", enter
%userprofile%\.claudeand press Enter
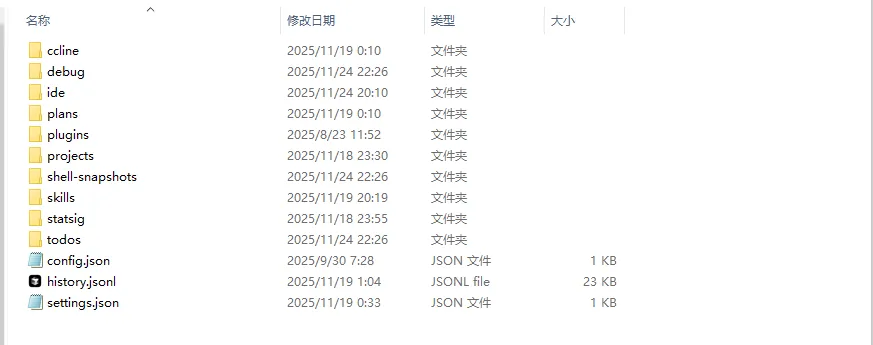
- If
settings.jsondoesn't exist, create it manually
- settings.json: Claude's main configuration file for relay address, ApiKey, hooks, plugins, etc.
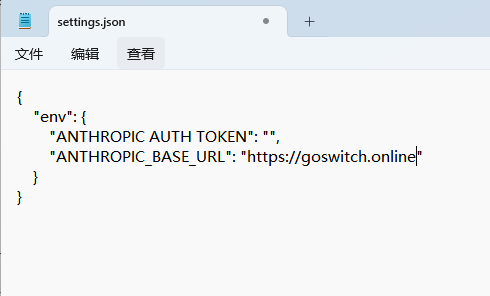
- Write the following content to
settings.json
{
  "env": {
    "ANTHROPIC_BASE_URL": "https://goswitch.online",
    "ANTHROPIC_AUTH_TOKEN": "xxx",
    "CLAUDE_CODE_ATTRIBUTION_HEADER": "0"
  }
}
- Review Create API Token, create a CC group token in GoSwitch, and replace
xxx

- Run
claudein the terminal. If you receive a reply, configuration is successful
MacOS
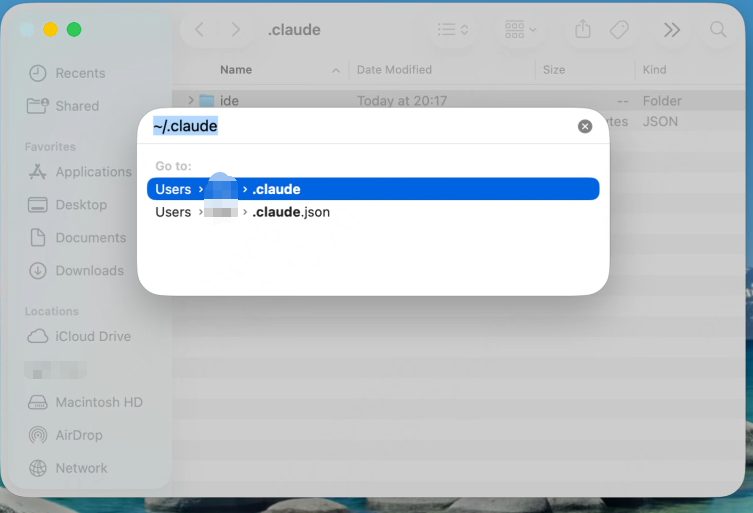
- Press "Command+Shift+G" in Finder, enter
~/.claudeand press Enter
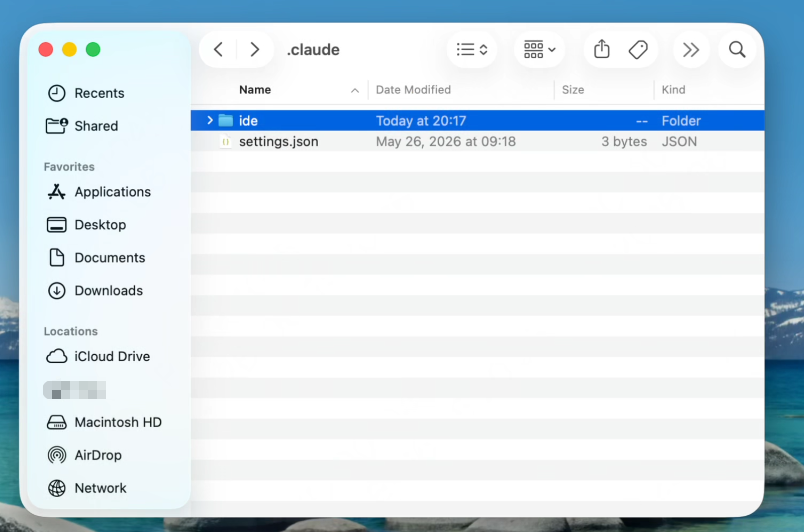
- If
settings.jsondoesn't exist, create it manually
- settings.json: Claude's main configuration file
- Write the following content to
settings.json
{
  "env": {
    "ANTHROPIC_BASE_URL": "https://goswitch.online",
    "ANTHROPIC_AUTH_TOKEN": "xxx",
    "CLAUDE_CODE_ATTRIBUTION_HEADER": "0"
  }
}
- Review Create API Token, create a CC group token in GoSwitch, replace
xxx
- Run
claudein the terminal. If it responds normally, configuration is complete
Important
If you still encounter errors after configuration, such as a prompt requiring login, please refer to the following linkclaude-code-cannot-connect-to-anthropic-service
Codex Configuration
Windows
- Press "Win+R", enter
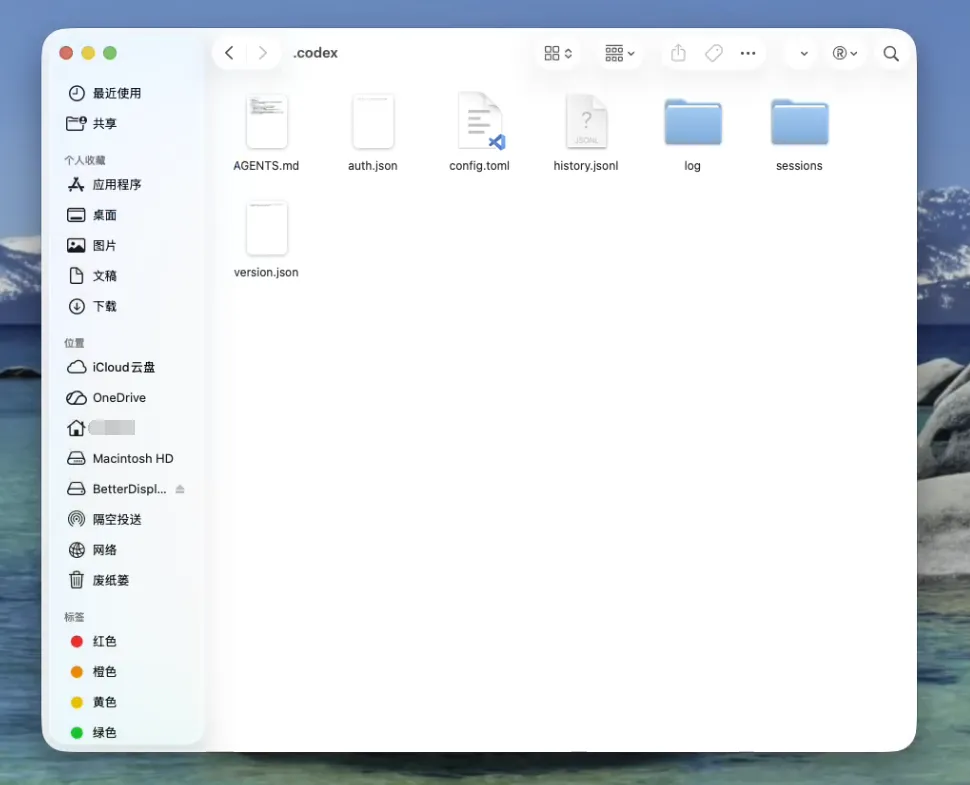
%userprofile%\.codexand press Enter

- We use three files, only two need configuration
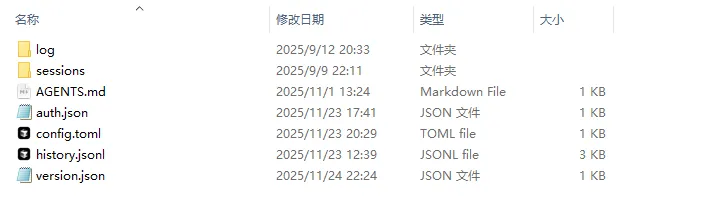
- config.toml: Codex's core configuration file
- auth.json: ApiKey configuration
- AGENTS.md: Global prompts
Important
Many people may not have these three files after installation. Create them manually
- Configure Config.toml
disable_response_storage = true
model = "gpt-5.2"
model_provider = "goswitch"
model_reasoning_effort = "xhigh"
model_verbosity = "high"

[features]
web_search_request = true

[model_providers.goswitch]
base_url = "https://goswitch.online/v1"
name = "goswitch"
requires_openai_auth = true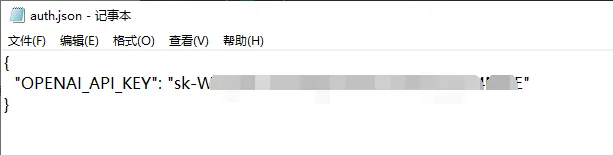
wire_api = "responses"- Configure ApiKey
{
  "OPENAI_API_KEY": "xxx"
}
Review Create API Token, create a Codex group token, copy the key and fill into xxx
- Test Dialogue - run
codexin terminal
MacOS
- Press "Command+Shift+G", enter
~/.codexand press Enter
- We use three files, only two need configuration
- config.toml: Codex's core configuration file
- auth.json: ApiKey storage
- AGENTS.md: Global prompts
Important
Create the above three files manually if they don't exist
- Configure Config.toml
model_provider = "goswitch"
model = "gpt-5.1-codex"
model_reasoning_effort = "high"
network_access = "enabled"
disable_response_storage = true
windows_wsl_setup_acknowledged = true
model_verbosity = "high"

[model_providers.goswitch]
name = "goswitch"
base_url = "https://goswitch.online/v1"
wire_api = "responses"
requires_openai_auth = true- Configure ApiKey
{
  "OPENAI_API_KEY": "xxx"
}
Review Create API Token, create a Codex group token, copy the key and fill into xxx
- Test - run
codexin terminal
Gemini Configuration
Windows
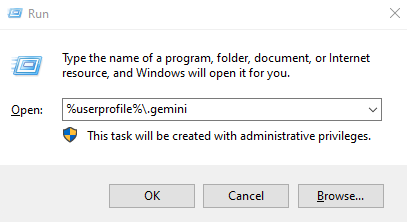
- Press "Win+R", enter
%userprofile%\.geminiand press Enter
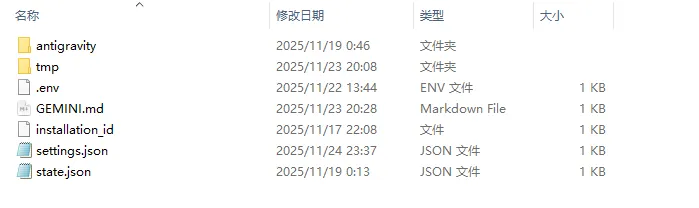
- Create
.envfile if it doesn't exist, write:
- .env: Gemini CLI configuration file
GOOGLE_GEMINI_BASE_URL=https://goswitch.online
GEMINI_API_KEY=xxx
GEMINI_MODEL=gemini-2.5-pro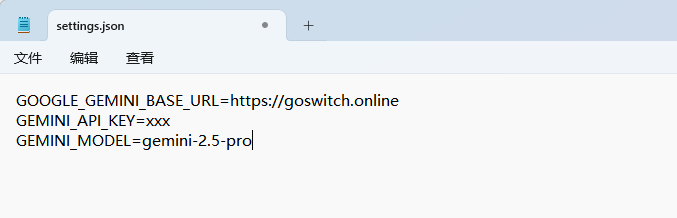
- Review Create API Token, create a Gemini group token, fill
xxx

- Run
geminiin terminal. If it responds normally, configuration is successful
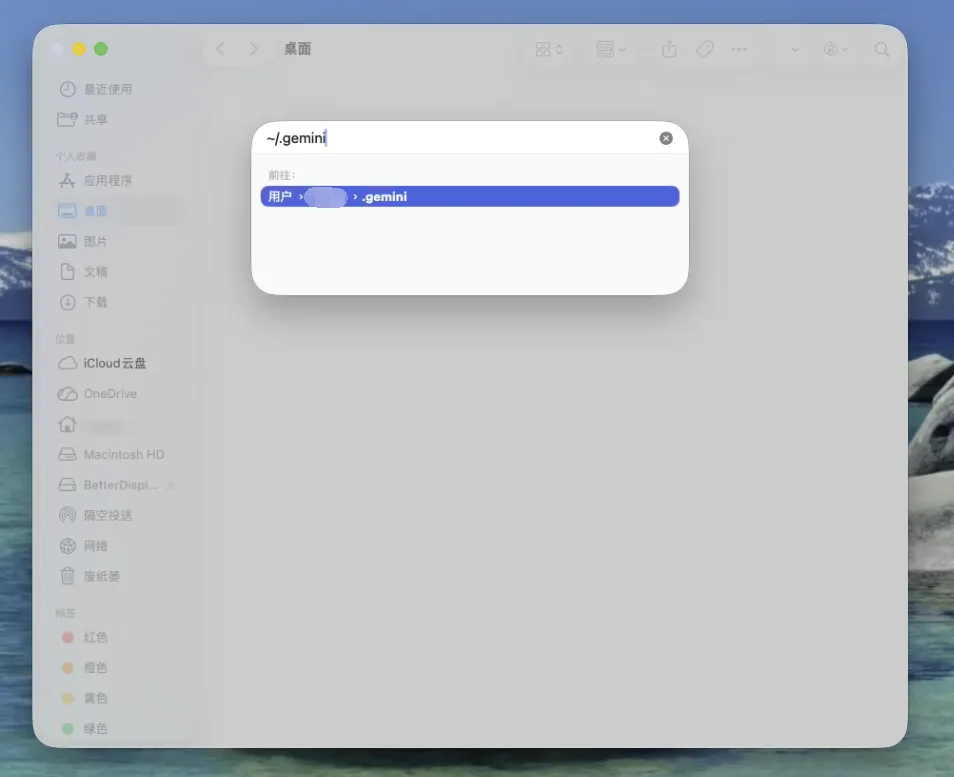
MacOS
- Press "Command+Shift+G", enter
~/.geminiand press Enter
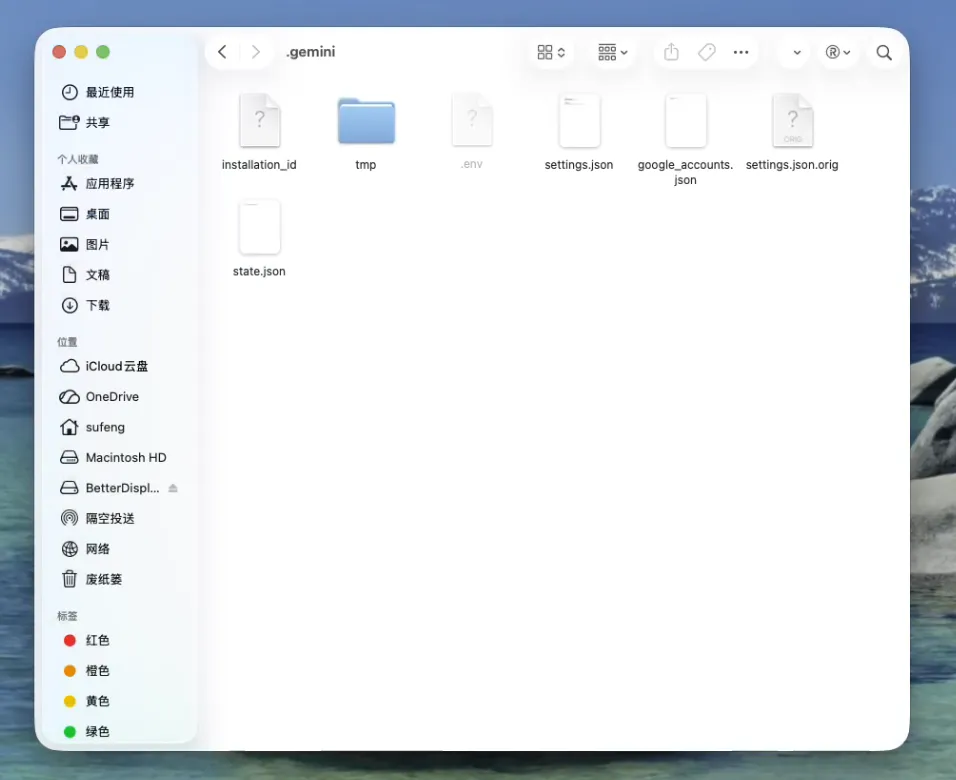
- Create
.envfile if it doesn't exist, write:
- .env: Gemini CLI configuration file
GOOGLE_GEMINI_BASE_URL=https://goswitch.online
GEMINI_API_KEY=xxx
GEMINI_MODEL=gemini-2.5-pro- Review Create API Token, create a Gemini group token, fill
xxx
- Run
geminiin terminal. If it works normally, configuration is complete