CC-Switch Tutorial
Author: goswitch
Updated: 2026-06-13T10:02:01.000Z
Common Steps
CC-Switch Introduction
Claude Code / Codex / Gemini CLI All-in-One Management Tool


From Provider Switcher to AI CLI All-in-One Management Platform
Unified management of Claude Code, Codex, and Gemini CLI provider configurations, MCP servers, Skills extensions, and system prompts.
With CC-Switch, you can:
- ✅ One-click API switching - Quickly switch between multiple API providers
- ✅ Visual configuration management - Easily manage all configurations through a graphical interface
- ✅ Built-in GoSwitch templates - Pre-configured GoSwitch template presets
- ✅ MCP server management - Manage Model Context Protocol servers
- ✅ System tray quick actions - Quick switching through tray menu
Tip
CC-Switch has built-in GoSwitch quick configuration templates — no need to manually edit configuration files!
Software Download
Windows
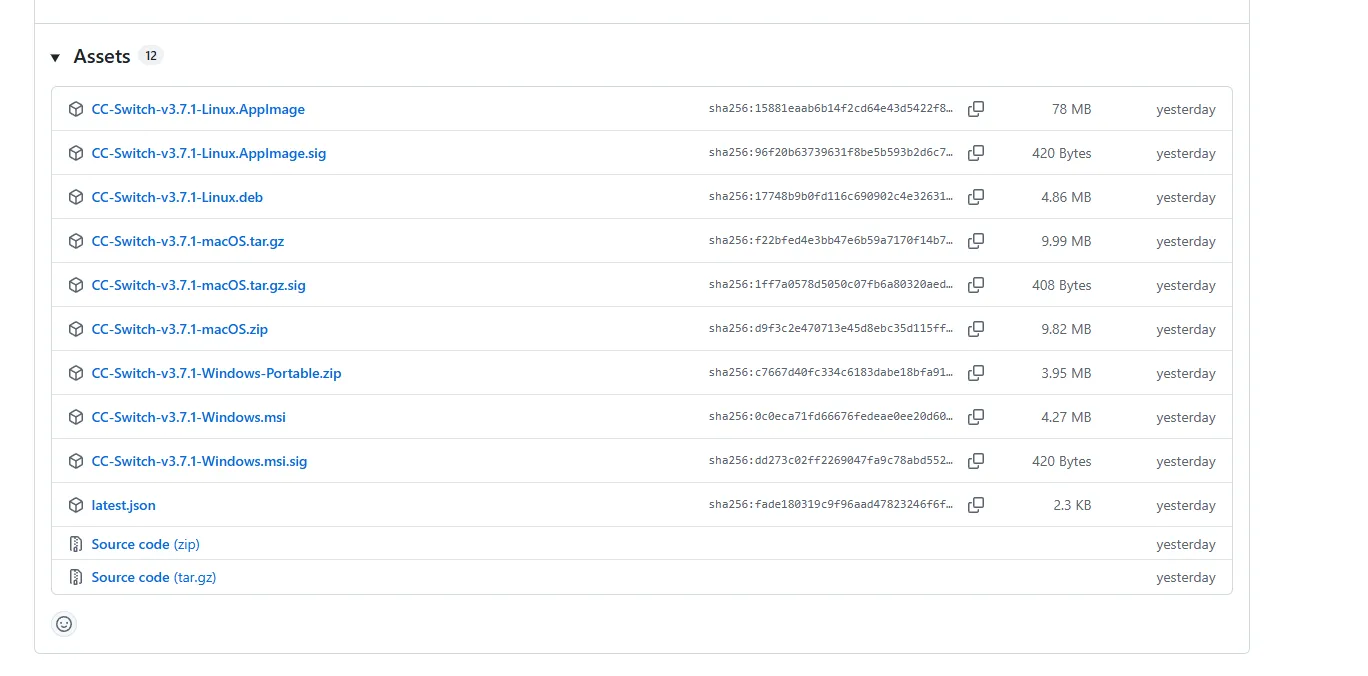
Click the download link → Link ← to go to CC-Switch's GitHub Release page
Scroll to the bottom and select the appropriate installer package. For Windows, we recommend downloading the regular .msi installer
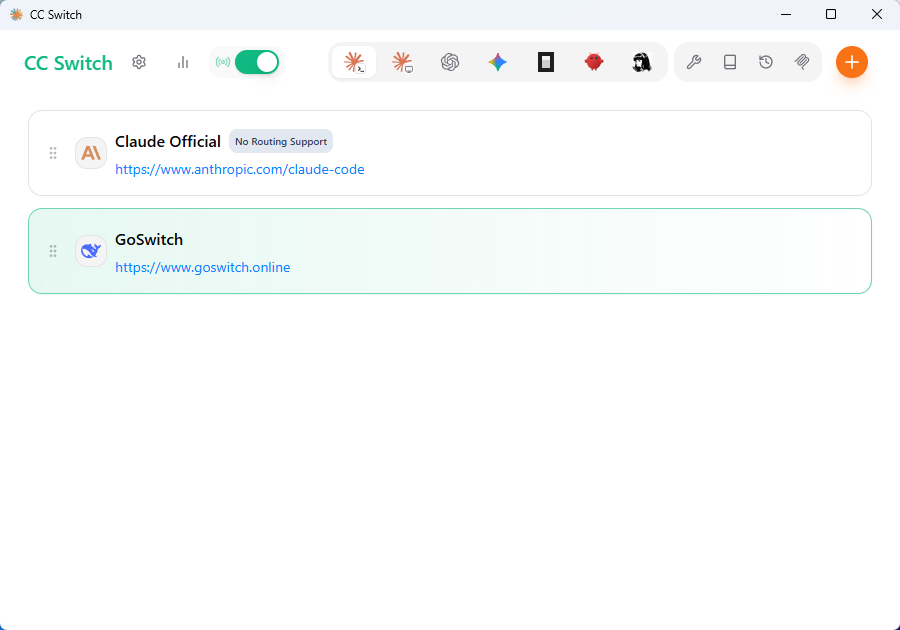
- After installation, run the CC-Switch main program. The interface looks like this.
MacOS
For MacOS, we recommend using HomeBrew
Open a terminal and run the following commands:
# Add tap source
brew tap farion1231/ccswitch

# Install CC-Switch
brew install --cask cc-switch- After installation, find CC-Switch in "Launchpad" or the "Applications" folder and launch it.
Environment Check
Important
It is highly recommended that you complete the environment check step! If you have experience and can confirm that your Node.js environment and the cc, codex, and gemini CLI installations are working properly, and that the configuration directories all exist, you can skip this step and proceed directly to the subsequent CC-Switch configuration. Click the link on the right to view How to perform an environment check?